Advanced
Question and Answer
One of the most powerful differences between the Document Template method of creating a custom report through Microsoft Word and the Mail Merge method is the ability of a Document Template to be configured with various questions which must be answered by the user at the time the document is to be run, with the answers becoming potential fields which may appear in the document output.
To configure questions and answers, start by opening the document template setup in the NLS system setup.
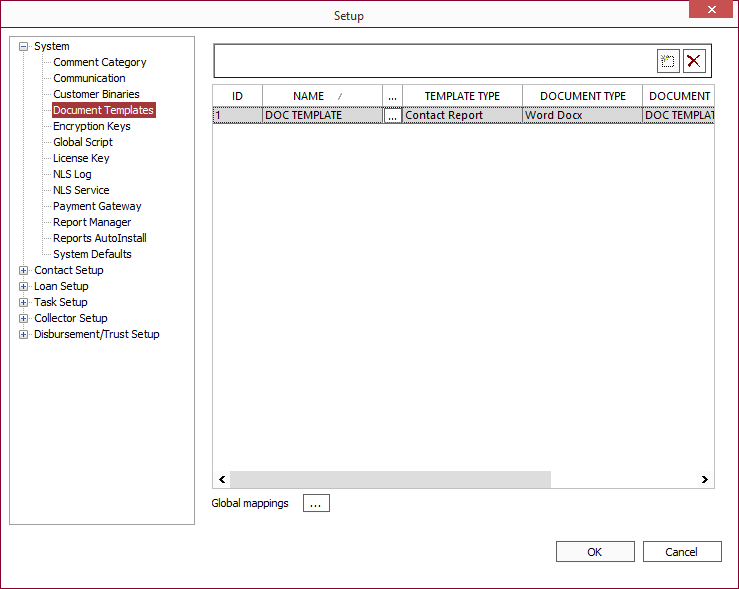
Next, click  to the right of the name of the document template.

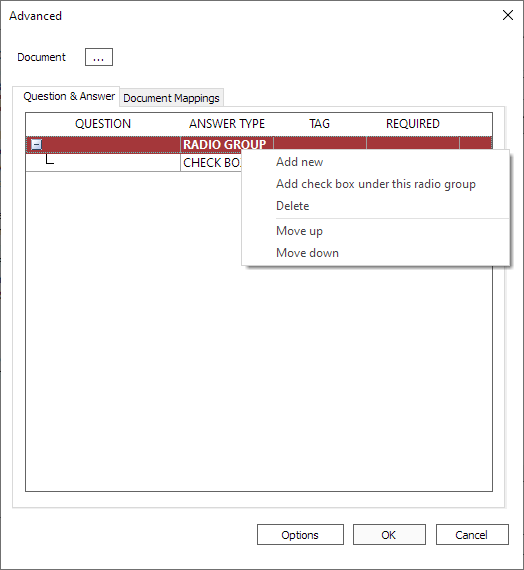
To add a new question, right-click in the question window and select Add new.
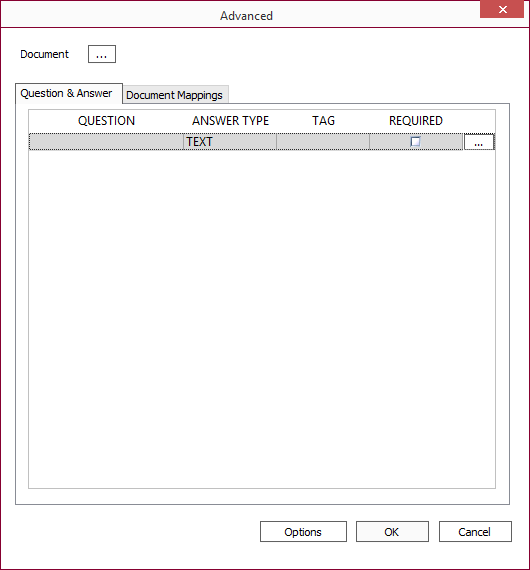
Click on the Question field and type in a question as it is to be presented at the time the report is generated. Next, use the drop down list for Answer Type and choose a type of answer which will be accepted. Type the tag (or bookmark) as it was used for the control created in Word (e.g. Check1, Dropdown1…). Check the Required checkbox if the answer to this question is mandatory for the document to run. Lastly, if the answer type is a drop down list, click  and enter the various elements which are to populate that list.
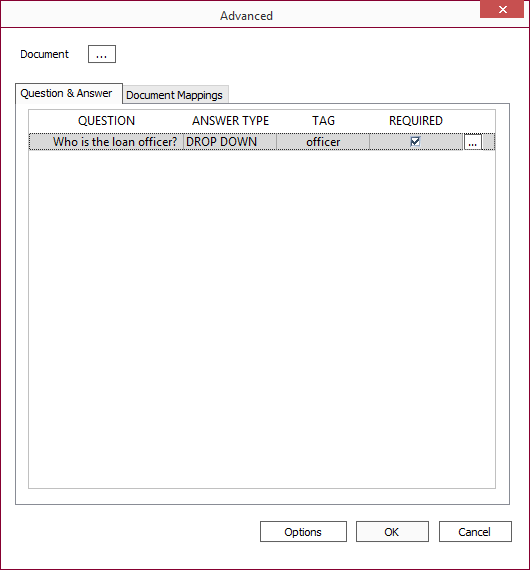
In the example shown, when the document is run, a question will appear on the screen “Who is the loan officer?” and the answer must be selected from a drop down list. That answer is assigned to a keyword defined by the tag “officer” which may be used in the setup of the word document. See Creating the Word Document.
If you need to pull a piece of data which is not available as a keyword, you may define a keyword using the Question and Answer setup and selecting the Answer Type of “USE SQL.” The SQL query that you write MUST be formatted in such a way as to return just one row of data, and this data will be assigned to the keyword defined by the question’s tag.
Clicking to the right of the question will bring up a dialog box which will allow you to set formatting parameters for the answer. The various formatting parameters available are dependent upon the Answer type being used.
Answer Types
| Text | Text entry field. |
| Numeric | Numeric entry field.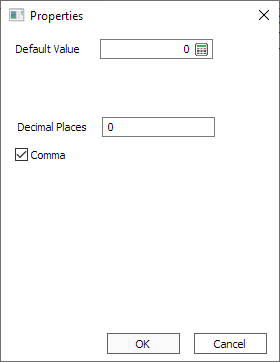 |
| Date | Date entry field.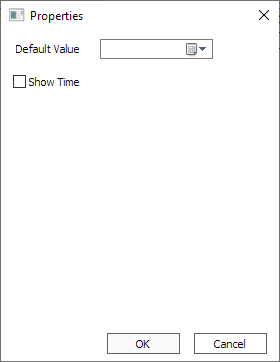 |
| Drop Down | Drop down list with user input. |
| Drop List | Drop down list.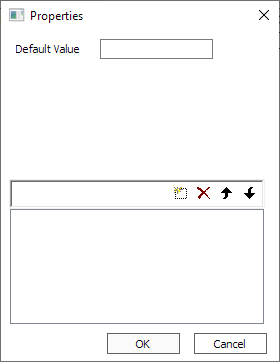 |
| Check Box | Check box.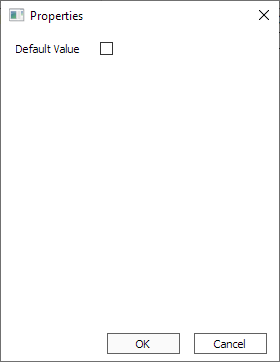 |
| Radio Group | Group of check box types. Check box types can be nested.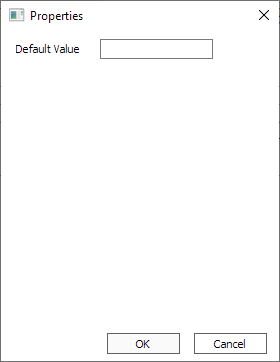 Right-click the Radio Group listing to add and manipulate items within the group.
|
| Group | A group of answer types. Right-click the Group listing to add and manipulate items within the group. |
| Use SQL | Pull data using a SQL statement.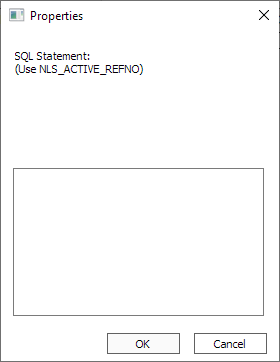 |
| Repeating Section Content Controls. Right-click the Section listing to add elements under the section. Elements are limited to Use SQL. |
|
| Pull data using a SQL statement while decrypting the field data. 5.35.13 and later To decrypt only the last four characters of an encrypted field to show ******1234.<SQL ShowLastRight="4" MaskToUse="*">
SELECT account_number FROM loanacct_ach WHERE acctrefno=NLS_ACTIVE_REFNO
</SQL>ShowLastRight can be any positive number.MaskToUse can be any character. Example When retrieving a list of values, it is important to use REPLACE and STUFF to concatenate the selected rows into a single row of values separated by a CR/LF or “\r\n”. The delineated values will be separated and decrypted individually.SELECT REPLACE(
STUFF((
select CONVERT(varchar(100), (CAST(account_number AS ntext)), 1), '', '' + '**lb**'
FROM loanacct_ach (NOLOCK)
FOR XML PATH('')), 1, 0, ''), '**lb**' , char(13) + char(10)) |
Document Mappings
Use of document mappings is optional but exists in order to allow the user to use existing document template reports in NLS with minimal modifications.
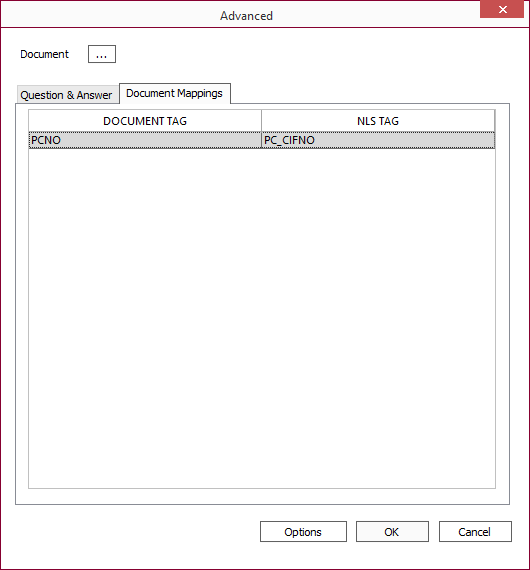
This feature allows the use of document template tags other than those that are defined in the NLS keywords. If you have a Word document with tags already programmed, and those tags correspond to keywords from the NLS database, but the actual tag is not identical to the keyword, you may map your existing tags to the keywords through the Document Mappings screen of the Document template setup.
To add a mapping, right-click and select Add new. Click in the Document Tag cell and type the tag as it appears in your word document. Then click in the NLS Tag cell and type in the corresponding NLS keyword tag.
Mappings may be added to an individual document template, or may be added globally so that they may be used by all document templates. To add a mapping globally, click  next to Global mappings at the bottom of the Document Templates setup screen.
Options
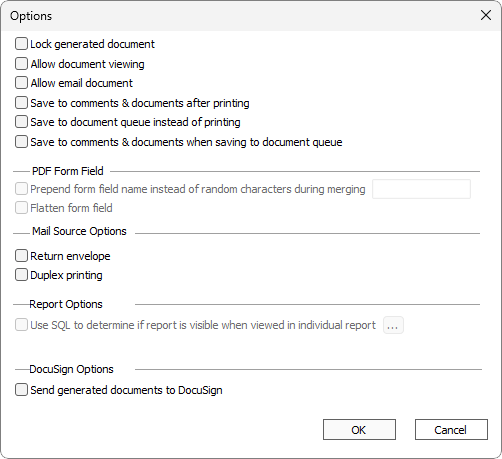
| Lock generated document | Selecting this will cause the resulting document to be protected so that it cannot be modified by the end users. |
| Allow document viewing | Selecting this enables a “preview” button. Clicking this button will allow the document to be shown on screen before being sent to the printer. |
| Allow email document | Selecting this enables a field in the upper dialog for the entry of an email address. NLS will then call the default email program upon clicking OK. The document will be attached to the email. |
| Save to comments & documents after printing | Selecting this will cause a copy of the document to be saved into comments and documents for the contact or loan after it is printed. |
| Save to document queue instead of printing | Selecting this will save the document in comments and documents instead of printing it. |
| Selecting this will save the document in comments and documents when the document is saved to the document queue. | |
| Prepend form field name instead of random characters during merging | Select to prepend the designated string to form field names that are randomized during merge. |
| Flatten form field | Select to flatten fillable form fields. |
| Return envelope | Selecting this will result in a return envelope being included with documents sent to MailSource. |
| Duplex printing | Selecting this will allow for duplex printing of documents sent to MailSource. |
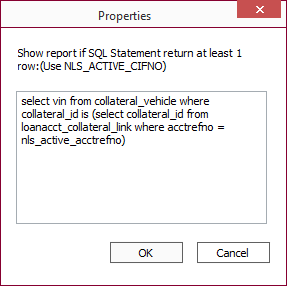
| Use SQL to determine if report is visible when viewed in individual report |
Selecting this will cause an SQL query to execute to determine if a report should be visible when viewing Individual Report. Click  to edit the SQL query. to edit the SQL query.
 |
|
Send generated documents to DocuSign5.15+
|
Selecting this will send a copy of the document to DocuSign. Only available for Loan Origination and Repo Origination template types. |
