| Field Label |
Label for the user defined field up to 50 characters in length. The default is “User Defined.” |
| Default Value |
A value entered in this setup field will automatically be entered as the actual field data by default whenever a new account is added (contact or loan user-defined fields respectively). |
| Field Type |
| Text Field 
Set field to allow for up to 50 alphanumeric characters. Text can be typed in directly into the field or the field can be double clicked to open a dialog for entering text. | Unlimited text size Select to allow an unlimited length of text into the field. | | Rich Text Format Select to allow for rich text (formatted) to be used. Unlimited text size must be selected. | Encrypt 5.35+Only available on Microsoft SQL. Not available on Oracle.
Only available for Contact Type UDFs.
Only available when setting up UDFs in Setup > Contact Setup > Contact Type. Not available when configuring a UDF directly from the Contact view. Select to encrypt the data in the database. Unlimited text size must be selected and encryption is not available for Rich Text Format. Encryption cannot be enabled on UDFs that are currently in use and contains data. Disabling encryption on a UDF with existing data will clear all the data for that UDF. Note Data is not encrypted when: - Updating the contact type of a contact to a different contact type via the GUI or XML import.
- Changing the UDF type to an encrypted Text Field from any other UDF type (date, button, etc.).
- Changing the encrypted Text Field to any other UDF type.
|
|
| Numeric Field 
Set field for only numeric values. Numbers can be entered directly into the field or a calculator can be used to enter values. | Decimal Places Number of decimal places to use. Click the up and down arrows to select up to five decimal places. | | Max Value The maximum value that the field can accept. | | Min Value The minimum value that the field can accept. |
The maximum field length is 25 digits, so you could define a maximum number of 9,999,999,999,999,999,999,999,999 (this is one short of 10 septillion). NLS will not allow non-numeric characters to be typed into a numeric field. |
| Date Field 
A date field will be displayed in mm/dd/yyyy format, and an empty date field will show __/__/____ to indicate that this field is a date field. Clicking the calendar icon in the date field will bring up a calendar / date-picker. |
| Drop Down Field (Allow user input) 
Field becomes a drop down list that allows for selection from a list or for manual entry by typing directly into the field. Click  Add to add items to the list and use Add to add items to the list and use   to re-order selected items in the list. Click Sort to sort the list of items in alphabetical order. to re-order selected items in the list. Click Sort to sort the list of items in alphabetical order. |
| Drop Down Field (Select only) 
Field becomes a drop down list that allows only for selecting from a list and does not allow for typing directly into the field. Click Add to add items to the list and use to re-order selected items in the list. Click Sort to sort the list of items in alphabetical order. |
| Check Box 
A user-defined field of this type will appear as a checkbox. A checkbox stores boolean data (e.g. yes/no, on/off, true/false). |
| Button 

A button user-defined field is useful for activating Visual Basic Scripts. For fields of this type, a trigger of “On Button Click” is added to the scripting interface.
A button can have multiple scripts associated with it. When more than one script is added to a button, the button will show a drop down list from which to select a script to execute when the button is clicked.
To execute a script immediately when a new script selection is made (without requiring the button to be clicked), select Execute script on selection change in the script editing dialog. |
| Documents 
Setting a user-defined field type to documents changes the field into a button. Clicking this button will bring up a screen where documents may be attached and documents that are already attached may be viewed. It is similar to the documents tab on a comment.
When the field is not open, a red number of the field will indicate how many documents are stored in this user-defined field. This is designed to save time, as a user will not have to open a document storage user-defined field to determine if any documents are present.5.12-
When the field is not open, a red <doc> will indicate that this is a document UDF.5.13+ |
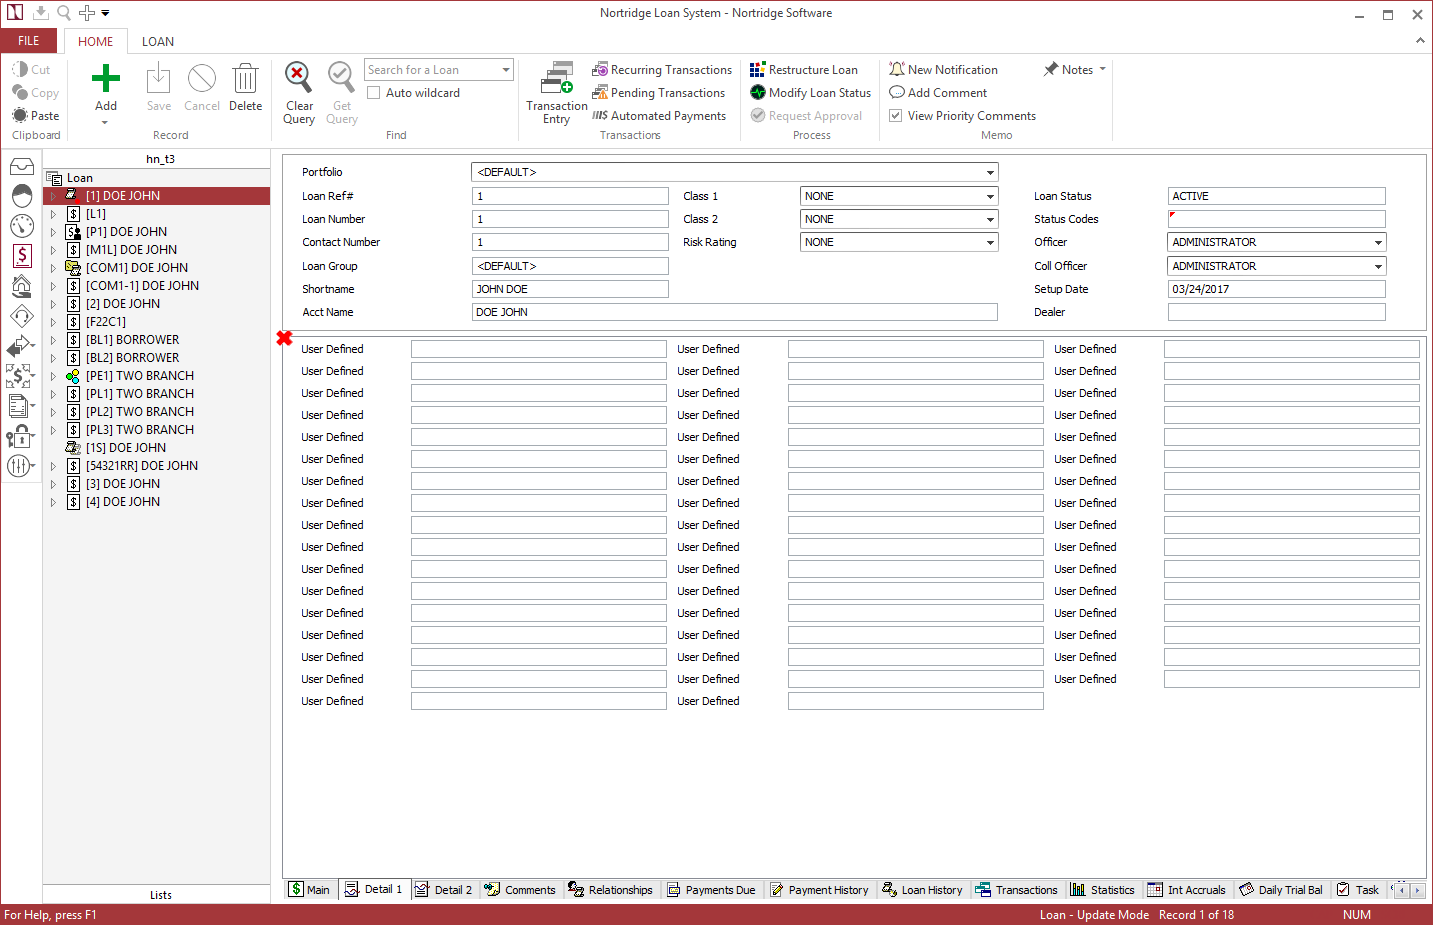
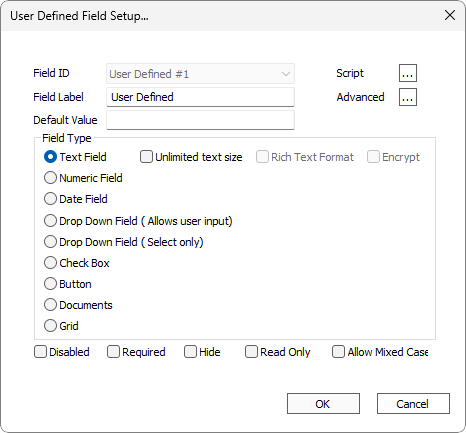
| Grid 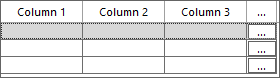
Displays a table with up to 15 columns and an unlimited number of rows containing any user defined field types or information from connected contacts, loans, work packets, or tasks. The grid can be double-clicked to view it in a larger dialog.
Fields 51–55 on the Contact Type and Loan Portfolio and fields 101–110 on the Task Template setup screens are available as Grid fields. These grids may be enabled by toggling off the Hide attribute.
In the User-Defined Field Setup window, click  to open the Grid Setup window. to open the Grid Setup window.
Column Type:
Other
|
Drop
| Type If the grid is to take data from the database, this field indicates if that data is to come from database tables related to Contact, Loan Accounts, Tasks, Work Packets, or if it may take data from more than one of those sources at the same time (generic). | | Number of Rows Defines the number of horizontal rows on the grid. | | Number of Columns Defines the number of vertical columns on the grid. | | Column# All attributes below this point are attributes of a specific column. This field defines which column the attributes displayed below pertains to. | | Table Link Allows the grid to automatically populate with values from the NLS database. | | Column Type Defines the type of field of the particular column. Each column acts as an additional user-defined field as defined in the section above. | | Decimal Places If the column type is Numeric you may specify the decimal precision of the number. | | Data If the column type is Drop Down or Drop List, the list items can be specified here.
NLS 5.6 and later Click on  to use an SQL statement to populate the list. Maximum of two columns may be queried using the SQL SELECT statement. Table Link must be set to None. To populate a single column with data: SQL select loan_template_name from loan_template To populate two columns with data, use + ',' + between the columns to include a comma to delimit the data (replace + with || for Oracle): SQL select shortname + ',' + lastname1 from cif | | Column Width Defines the width of the column in pixels. | | Column Header Defines a title to be placed at the top of the column. | | Column Alignment Defines the justification of the column. | | Read Only If a column pulls data from the database, you may wish to make it a read only column. | | Comma If the column type is numeric, you may specify if it should or should not have commas. | | Sub Totals (Last row) If the column type is numeric, selecting this option makes the last row of the grid automatically contain the sum of all rows in the column. | | Do not save to database Some grids may be populated with data through scripting. In this case, where the data is refreshed each time that the Grid comes up, it may not be necessary to save the contents of the grid to the database tables. | | Do not activate dirty flag (Save button) If this checkbox is selected, then changes in the grid do not lock the data record in the database. In this case those changes will ultimately not be saved to the database. | | Stretch last column The right most column of the grid is stretched to fill any remaining space in the defined size of the grid, after the column width of each column has been accounted for. | | SQL SELECT Statement If the Table Link field specifies an SQL statement to populate the grid, then the SQL statement is typed here. |
|
|
| Disabled
|
Check to disable a user-defined field. The corresponding user-defined field on the Contact will display no data, and will not accept any input. |
| Required
|
When selected, NLS will not allow a Contact to be saved unless a valid value is entered into that user-defined field. |
| Hide
|
When selected, the entire field will be removed from the Contact display. This can be used to create spaces between groups of fields allowing for greater latitude in customizing the look of the contact screen. |
| Read Only
|
When selected, the field will be grayed out and cannot be edited, but any information in that field is still displayed. Information can get into the field by being placed there before the field definition is set to read only, by having a default value set in the field definition, or by having the field value set by a VB script code. |
| Mixed Case |
When selected, lower case letters may be used for the User Defined text. |

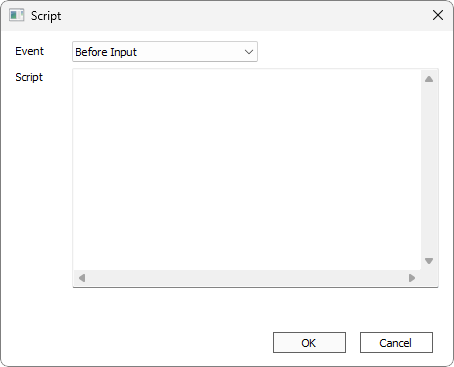

 shown in the screenshot below: