Installing Reports
Nortridge Software distributes standard reports for NLS in the form of a Report Pack with a .nrp file extension. A report pack is included with your NLS installer and will be automatically placed into the Report Packs directory of the installation path. However, it is strongly recommended that you download the latest report pack from the Nortridge Community at community.nortridge.com. Also note the required version of the NLS Report Generator for the latest report pack (e.g. reports_53000.nrp report pack requires NLSReportGenerator53000.dll). Download and install the NLS Report Generator if needed to avoid errors loading the installed reports. Periodic updates to the report pack is also distributed through the Nortridge Community.
A report pack only needs to be installed once per database and will become available to all users logged into that database. You do not need to install a report pack for each user or on each computer running NLS.
Note
Do not change the filename of the report pack. It must be in its original filename as it was distributed or the reports will not install.- To install a Report Pack, click File then Setup.
- Click
 to expand System (if it is not already expanded) then click Reports AutoInstall.
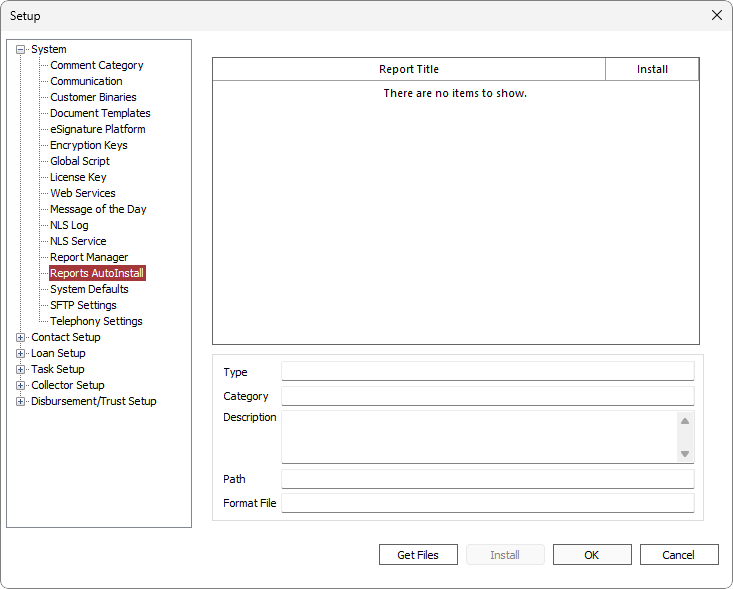
-
Click Get Files.
-
Browse to the location of the report pack file.
If you have downloaded the latest report pack from Nortridge Community then the report pack will be located in your browser’s designated download folder.
ASP users on our Switch environment will need to copy the report pack to the mapped drive as configured for your remote desktop connection. See the support document on how to map local drives in RDC.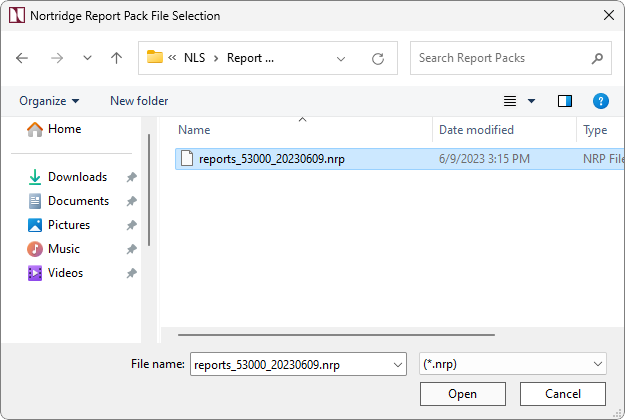
-
Select the .nrp file and click Open. The reports will be loaded into the Auto-Installer.
-
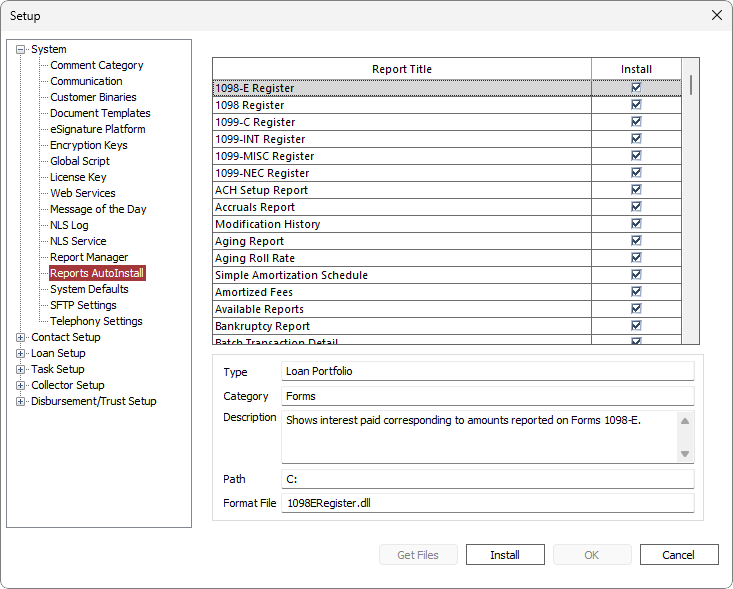
Click Install.
-
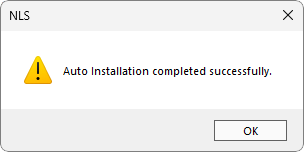
Click OK to dismiss the dialog then click OK on the Setup screen.
-
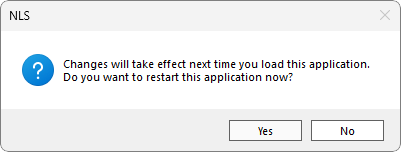
Click Yes. This completes the basic setup of NLS.