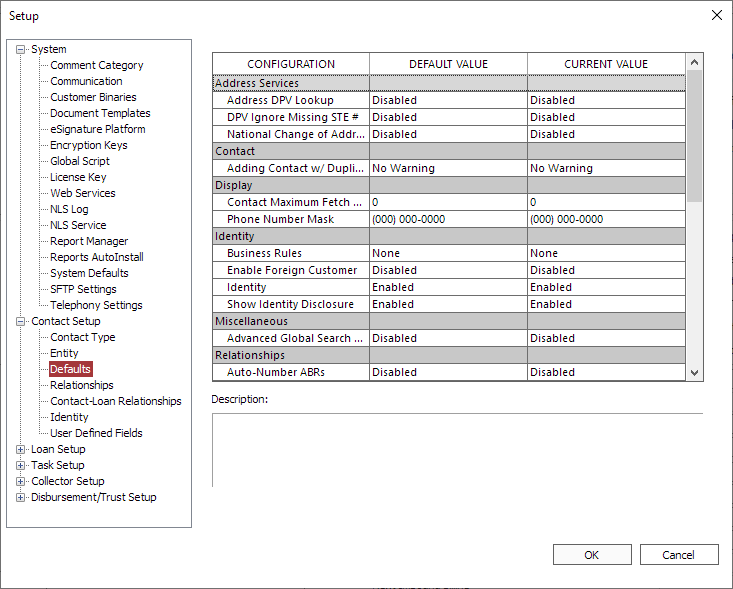
Contact Defaults
The contact Defaults category contains default settings relating directly to the Contact Information File.

Address Services
| Address DPV Lookup | When enabled, uses web services to connect to a database at the Nortridge Software data center for Delivery Point Validation. |
| When enabled, missing suite/unit/apartment number in the address will be ignored during DPV. | |
| When enabled, NLS Service can be used to schedule the monitoring of NCOS. |
Contact
|
Adding Contact w/ Duplicate TIN4.10.7+
|
This configuration defines the behavior when entering duplicate values in the TIN field.
|
|||
| When enabled, ensure provided email address is properly formatted. |
Display
| Contact Maximum Fetch Count | This value will limit the number of contact records that can be retrieved from a query. The value of 0 denotes unlimited fetch count. |
| Phone Number Mask | The default phone number mask is (000) 000-0000. A placeholder of “0” forces a numeric value to exist. |
Identity
Determines the minimum amount of identification required to open a loan.
|
||||
|
Enable Foreign Customer5.24+
|
When enabled, the Foreign Customer checkbox is enabled in contact identity related dialogs. | |||
|
Identity5.22+
|
Enables the Identity tab in the Contact view. | |||
| When enabled, the disclosure (as configured in Loan Setup > Automated Payments) will be displayed when adding a new identity. |
Miscellaneous
| When enabled, the Search by Branch option will be available in the Advanced Global Search dialog. Search by branch is only available when Branch is enabled in system defaults. |
Relationships
| When enabled the Description field for a Contact’s addressbook relationships will automatically fill with a unique identifier based on its relationship type and how many relationships of that type are attached to that contact. The field changed column under a Contact’s history tab will use this identifier to specify which addressbook relationship has been changed. |
Tree Control
Defines how each entity is displayed in their respective tree views. Element 1 defines the left element, element 2 defines the middle element, and element 3 defines the right element.
Example
The default values for Contact Tree Element 1 is Contact Number, Contact Tree Element 2 is Last Name, and Contact Tree Element 3 is First Name. A contact with a Contact Number set as 1, First Name as John, and Last Name as Doe will appear as [1] DOE JOHN in the contact tree.
| Contact Relationship Tree Element 1 – Couple | Element #1 of the Contact Relationship Tree Control. By setting this value you can control the displayed contents of the Contact Relationship Tree Control for the Couple type records. |
| Contact Relationship Tree Element 1 – Individual | Element #1 of the Contact Relationship Tree Control. By setting this value you can control the displayed contents of the Contact Relationship Tree Control for the Individual type records. |
| Contact Relationship Tree Element 1 – Organization | Element #1 of the Contact Relationship Tree Control. By setting this value you can control the displayed contents of the Contact Relationship Tree Control for the Organization type records. |
| Contact Relationship Tree Element 2 – Couple | Element #2 of the Contact Relationship Tree Control. By setting this value you can control the displayed contents of the Contact Relationship Tree Control for the Couple type records. |
| Contact Relationship Tree Element 2 – Individual | Element #2 of the Contact Relationship Tree Control. By setting this value you can control the displayed contents of the Contact Relationship Tree Control for the Individual type records. |
| Contact Relationship Tree Element 2 – Organization | Element #2 of the Contact Relationship Tree Control. By setting this value you can control the displayed contents of the Contact Relationship Tree Control for the Organization type records. |
| Contact Relationship Tree Element 3 – Couple | Element #3 of the Contact Relationship Tree Control. By setting this value you can control the displayed contents of the Contact Relationship Tree Control for the Couple type records. |
| Contact Relationship Tree Element 3 – Individual | Element #3 of the Contact Relationship Tree Control. By setting this value you can control the displayed contents of the Contact Relationship Tree Control for the Individual type records. |
| Contact Relationship Tree Element 3 – Organization | Element #3 of the Contact Relationship Tree Control. By setting this value you can control the displayed contents of the Contact Relationship Tree Control for the Organization type records. |
| Contact Tree Element 1 – Couple | Element #1 of the Contact Tree Control. By setting this value you can control the displayed contents of the Contact Tree Control for the Couple type records. |
| Contact Tree Element 1 – Individual | Element #1 of the Contact Tree Control. By setting this value you can control the displayed contents of the Contact Tree Control for the Individual type records. |
| Contact Tree Element 1 – Organization | Element #1 of the Contact Tree Control. By setting this value you can control the displayed contents of the Contact Tree Control for the Organization type records. |
| Contact Tree Element 2 – Couple | Element #2 of the Contact Tree Control. By setting this value you can control the displayed contents of the Contact Tree Control for the Couple type records. |
| Contact Tree Element 2 – Individual | Element #2 of the Contact Tree Control. By setting this value you can control the displayed contents of the Contact Tree Control for the Individual type records. |
| Contact Tree Element 2 – Organization | Element #2 of the Contact Tree Control. By setting this value you can control the displayed contents of the Contact Tree Control for the Organization type records. |
| Contact Tree Element 3 – Couple | Element #3 of the Contact Tree Control. By setting this value you can control the displayed contents of the Contact Tree Control for the Couple type records. |
| Contact Tree Element 3 – Individual | Element #3 of the Contact Tree Control. By setting this value you can control the displayed contents of the Contact Tree Control for the Individual type records. |
| Contact Tree Element 3 – Organization | Element #3 of the Contact Tree Control. By setting this value you can control the displayed contents of the Contact Tree Control for the Organization type records. |
| Contact – Loan Relationship Tree Element 1 | Element #1 of the Contact to Loan Relationship Tree Control. By setting this value you can control the displayed contents of the Contact-Loan Relationship Tree Control. |
| Contact – Loan Relationship Tree Element 2 | Element #2 of the Contact to Loan Relationship Tree Control. By setting this value you can control the displayed contents of the Contact-Loan Relationship Tree Control. |
| Contact – Loan Relationship Tree Element 3 | Element #3 of the Contact to Loan Relationship Tree Control. By setting this value you can control the displayed contents of the Contact-Loan Relationship Tree Control. |
