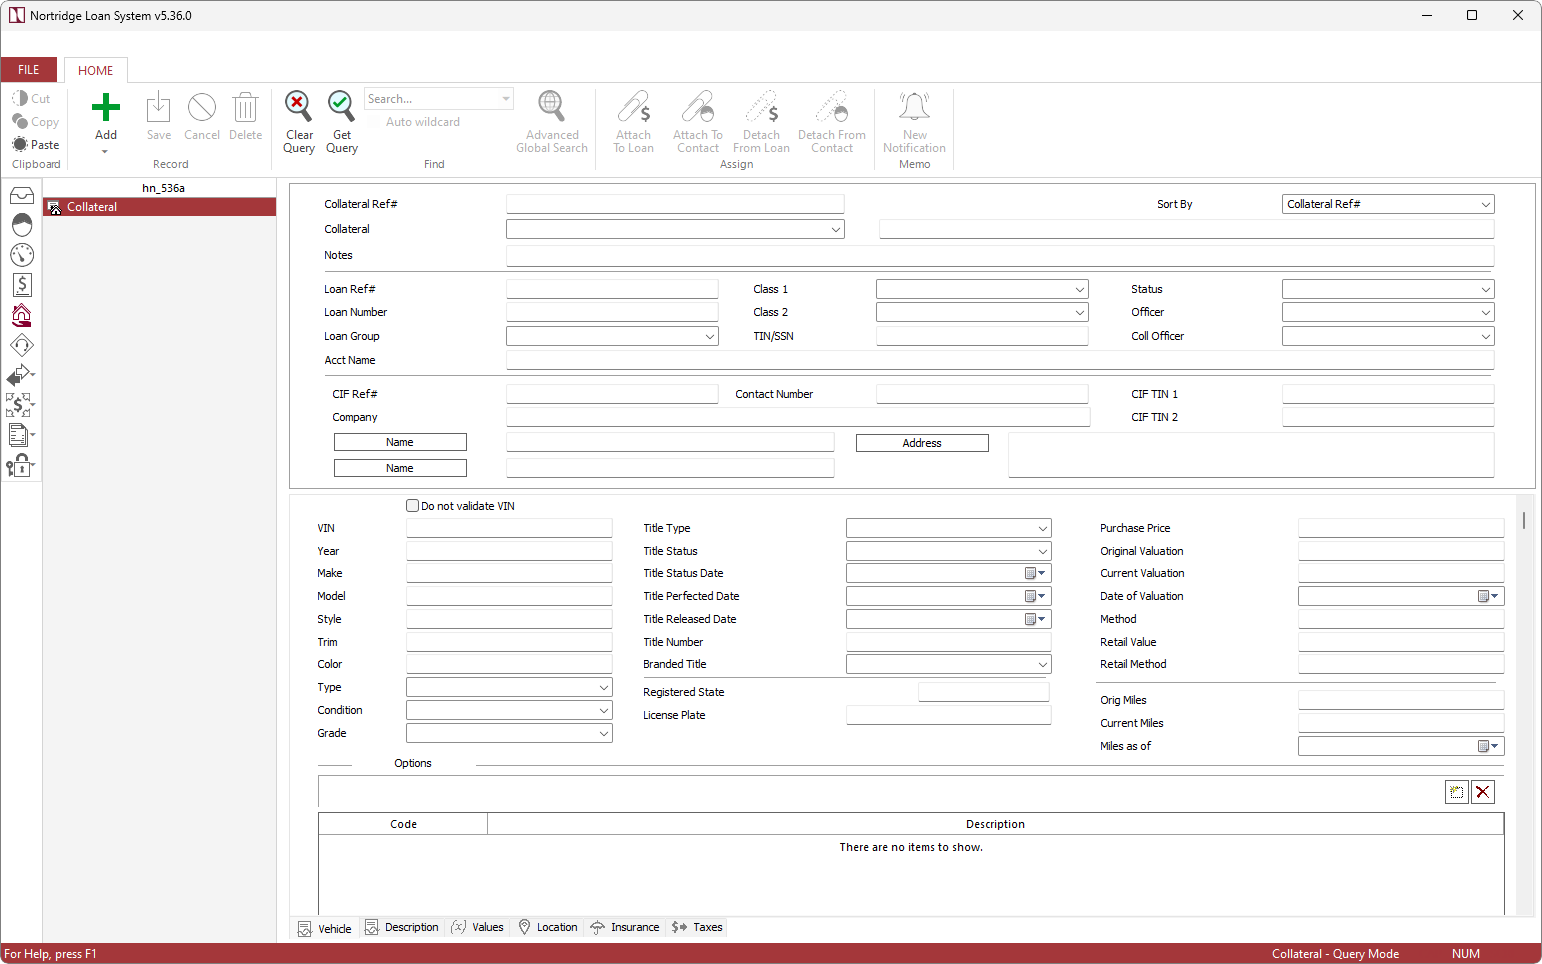
Collateral
Collateral on the Nortridge Loan System is usually entered on the Collateral tab under the Loan view. It can also be entered directly under a contact in the contact’s Collateral tab.
If you need to track collateral on the loan system for a loan that has not yet been entered, or if you need to track a piece of collateral that is linked to multiple loans or contacts, you may enter it from the main collateral screen.
Note
Before a collateral can be entered into NLS, collateral codes must be configured in Setup > Loan Setup > Collateral.To access the main collateral screen, click Collateral  in the shortcut bar. From here, you can run a query on all collateral items that have been entered in the loan system as well as adding new ones and to link existing collateral to loans and contacts.
A collateral that is not linked to a loan or contact will appear with a  icon next to the collateral item in the tree.
A collateral that is linked will be indicated by a  icon.
icon.
A single collateral item may be linked to multiple loans and contacts in a process known as cross-collateralization.
| Command | Description |
|---|---|
 Attach to Loan Attach to Loan |
Click and select a loan to which to attach the collateral. When attaching a collateral to multiple loans, you may need to clear the query then re-query the collateral for the additional loans to be displayed in the tree. |
 Attach to Contact Attach to Contact |
Click and select a contact to which to attach the collateral. When attaching a collateral to multiple contacts, you may need to clear the query then re-query the collateral for the additional contacts to be displayed in the tree. |
 Detach from Loan Detach from Loan |
Detaches the selected collateral from the selected loan. |
 Detach from Contact Detach from Contact |
Detaches the selected collateral from the selected contact. |


